Why on earth I decided that Probe Droid legs would make good wind chimes is beyond me. But once a crazy idea gets lodged in my head I need to see it through. this project took just over a year from conception to completion. Mostly because I had to keep shelving it due to busyness, and roadblocks. Putting if off for a few weeks allows me to come up with new ideas to solve problems.
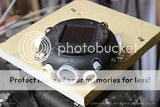
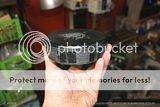
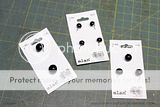
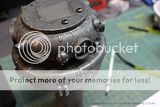
After pouring over all the images and drawings I could find online I took a trip to the dollar store and discovered one garden lamp that had a solar cell and a similar shape to the probe droid head. The solar cell and LED would allow me to leave a battery in and have it continually recharged by the sun! The LED would only come on after dark. It doesn’t work as well indoors (less direct sunlight). This was when things really got rolling. 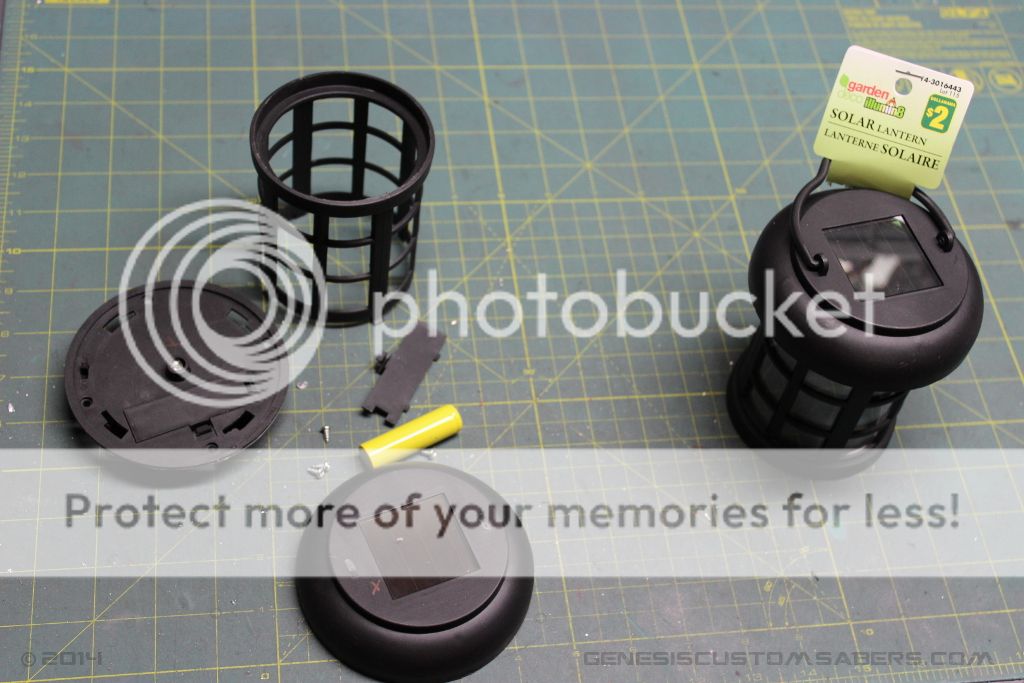 It took parts of two garden lamps to make the basic head. I re-wired the LED, and set about making and test fitting the different lenses and details onto the sides. I found that many of the half sphere lenses I could make from shiny black buttons from the fabric store. the two main lenses are machined down lightsaber blade tips.
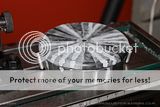
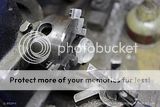
As I planned out the head, I was also searching for something to make the lower body disk out of. I decided on an ABS cap for toilet drain pipe. I had to machine this on the mill to get a lower bevel and also make the various channels in the sides. For armor plates I used a thick rubber tape and make the plates in sections. The tape I got from foam pipe insulation.
For the legs I used the detailed drawings by Lasse Henning to trace out my parts on 1/8 thick aluminum. Then I painstakingly cut each out on the mill.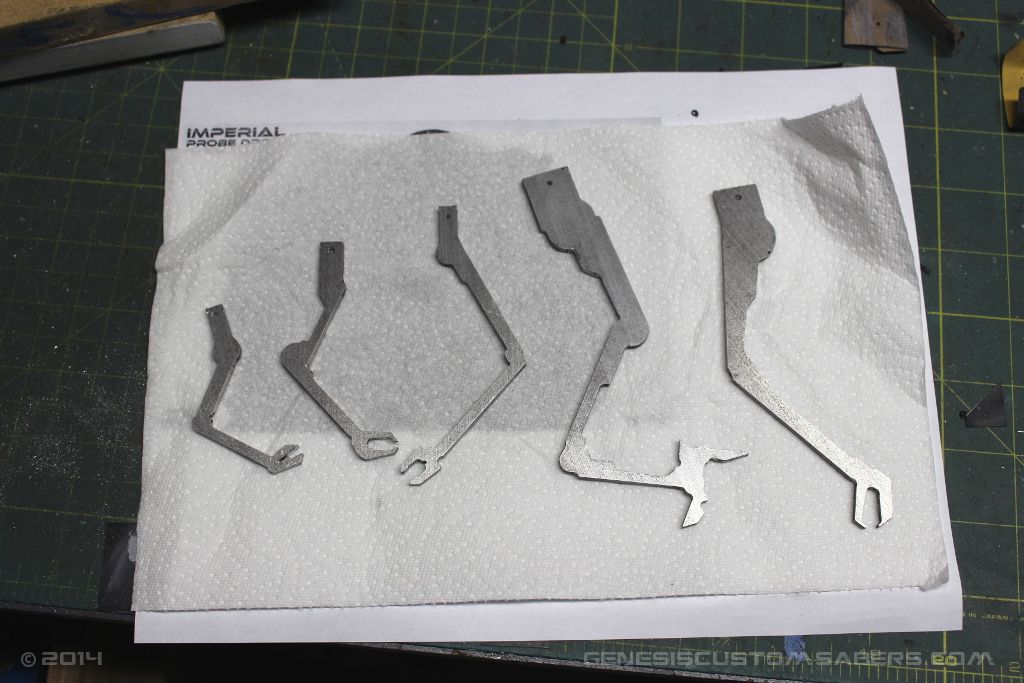
After many stages of model putty and sanding, I was ready to paint. But I had a hard time finding a paint that I was happy with. I settled on a grey primer and Model Master 1988 “Euro 1 gray” spray paint. Then a thinned silver for the metal chips, a flat black wash, steel wool application, and finally a matte clearcoat.
For greeblies on the outside I used sections of the same rubber tape I used for armor plates, bits of electrical connectors, and unique screws. The antennae are made from insulated wire, various thicknesses of heatshrink tube, and button head socket screws.
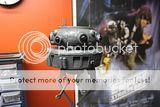
The plan was to hang it outside, but somewhere along the way I got into WAY more detail than I originally planned. After so much work I am afraid of it getting stolen. So it hangs proudly in my shop.
Not for Sale
This entry was posted on Thursday, January 29th, 2015 at 11:36 am
You can follow any responses to this entry through the RSS 2.0 feed.


